Water Heater Expansion Tank
Water heater expansion tank
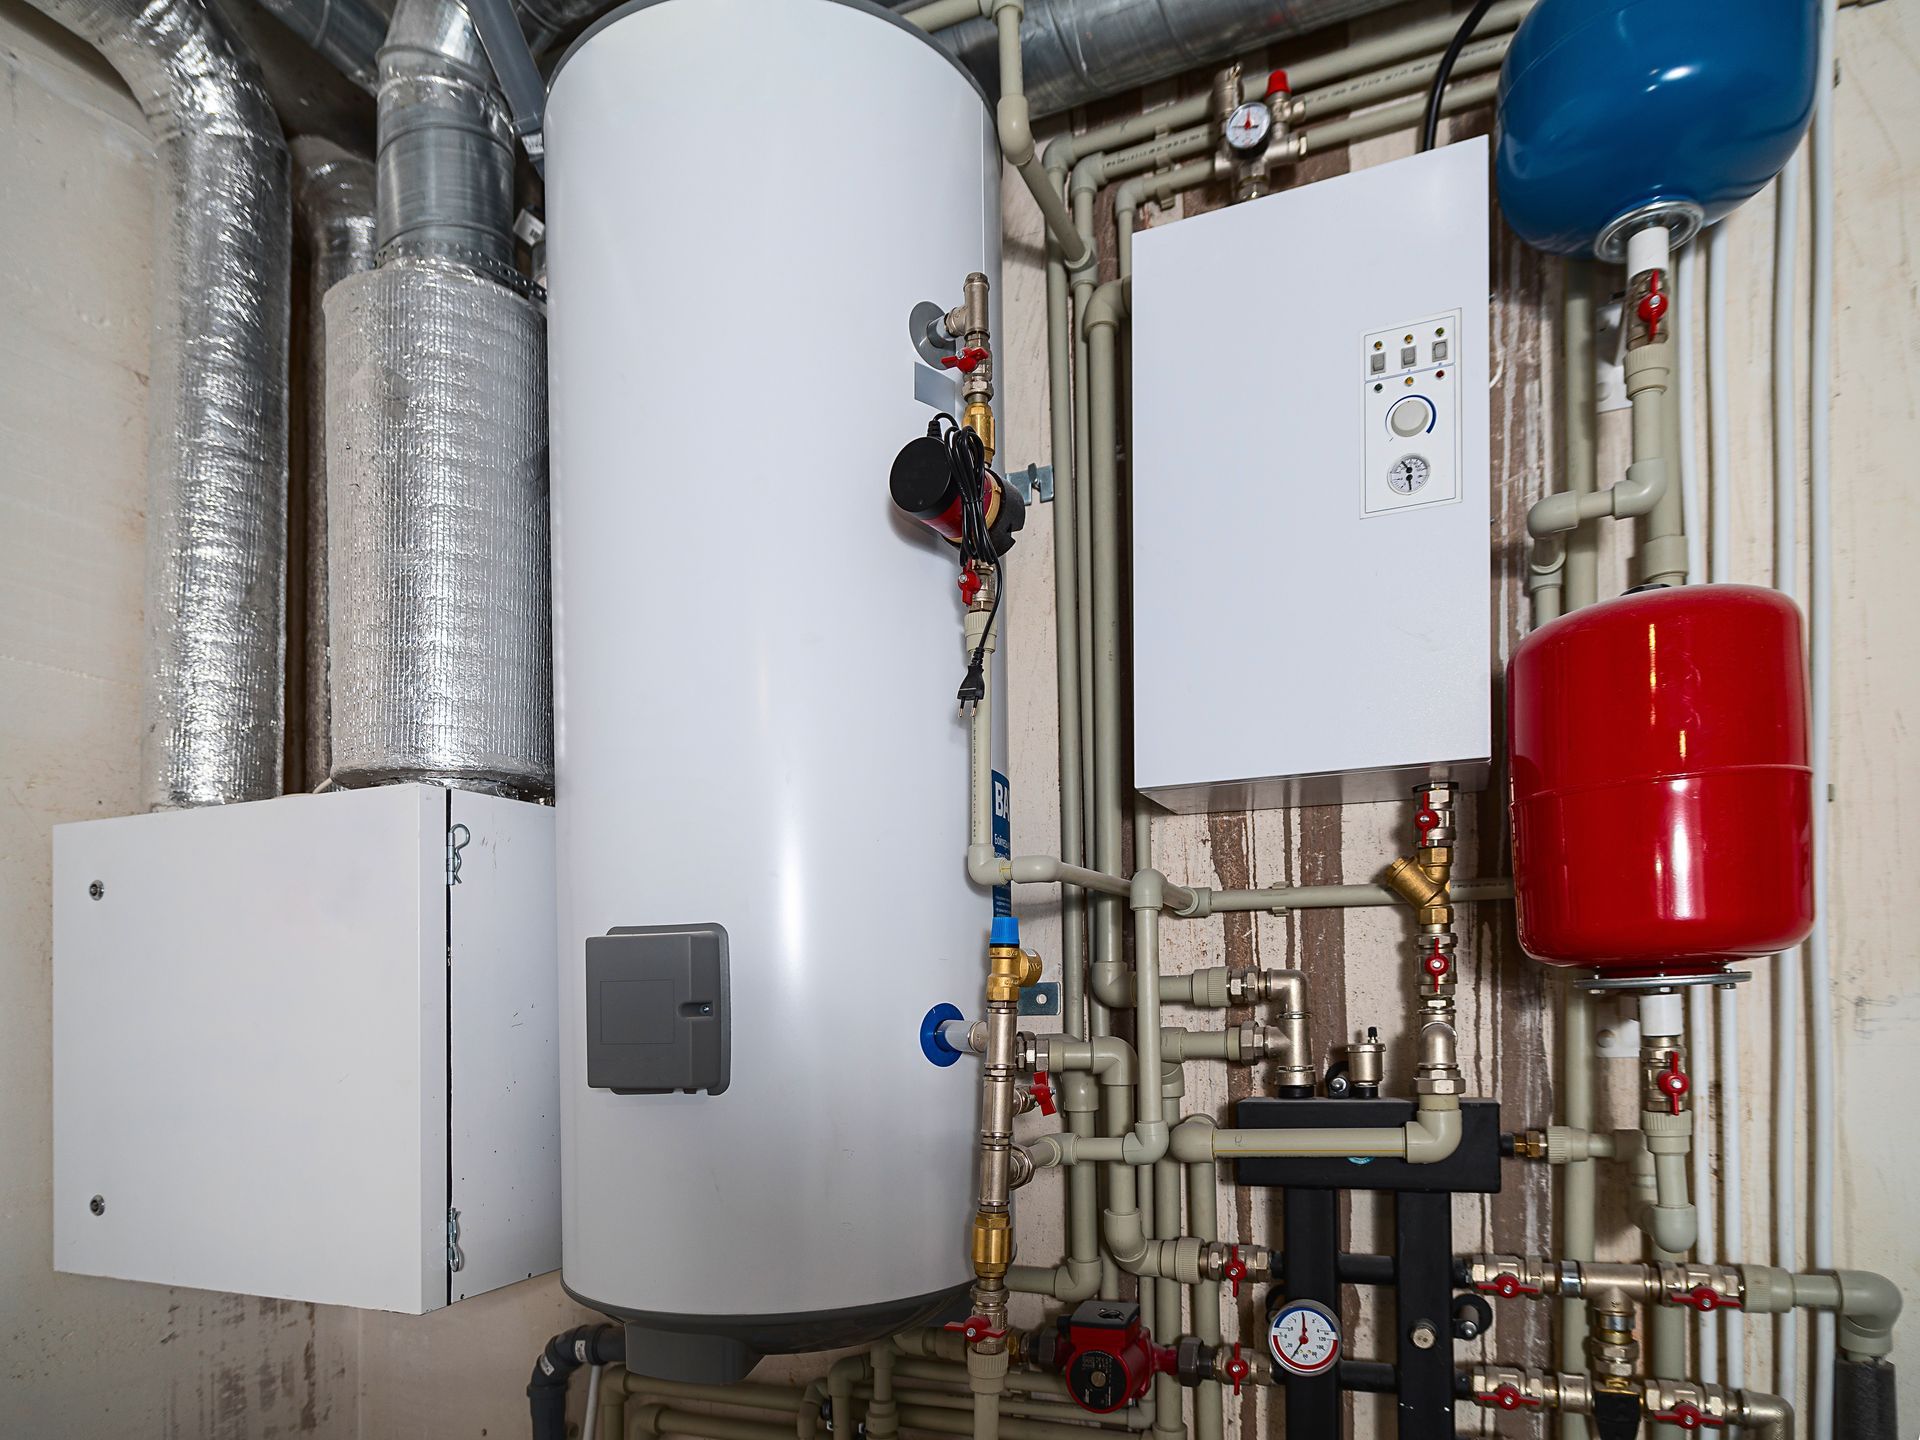
Water Heater Expansion Tank
A water heater expansion tank is a small, pressurized tank installed on the cold-water supply line near a water heater. Its purpose is to manage the increased pressure that occurs when water is heated and expands inside a closed plumbing system. While it may appear to be a minor accessory, an expansion tank plays a critical role in protecting both the water heater and the entire plumbing system from pressure-related damage.
When cold water enters a water heater and is heated, it expands in volume. In older plumbing systems, this expansion could safely push back into the municipal water supply. However, most modern homes now have closed systems due to pressure-reducing valves, check valves, or backflow preventers installed by water utilities. In these closed systems, the expanding water has nowhere to go. An expansion tank provides a controlled space for that extra volume, preventing pressure from building to damaging levels.
An expansion tank works using a sealed internal bladder or diaphragm that separates water from compressed air. As heated water expands, it flows into the tank and compresses the air side, absorbing the pressure increase. Once the system cools and pressure drops, the water flows back into the plumbing system. This cycle happens repeatedly during normal water heater operation and significantly reduces stress on pipes, fixtures, valves, and the water heater itself.
Why Expansion Tanks Are Important
Without an expansion tank, pressure spikes caused by thermal expansion can lead to a range of problems. One of the most common symptoms is a dripping temperature and pressure relief valve on the water heater. While the relief valve is doing its job, repeated pressure discharge can shorten its lifespan and mask the underlying issue. Over time, excessive pressure can also cause leaks at fittings, premature failure of water heater tanks, and damage to appliances connected to the plumbing system.
Expansion tanks are often required by plumbing codes when a closed system is present. Even when not strictly required, installing one is considered a best practice for system longevity and safety. Homes with tank-style water heaters, tankless water heaters with storage components, and even some boiler systems can benefit from proper expansion control.
From a homeowner’s perspective, an expansion tank is a relatively low-cost component that can prevent expensive repairs. From a system design standpoint, it acts as a pressure shock absorber, quietly protecting the plumbing every time hot water is used.
Installation Considerations and Common Issues
Expansion tanks are typically installed on the cold-water supply line above the water heater, often using a threaded tee fitting. They must be properly supported, as a waterlogged tank can become heavy over time. The tank must also be correctly sized based on the water heater capacity and the home’s water pressure. An undersized tank may not adequately control pressure, while an oversized tank is unnecessary and inefficient.
One critical but often overlooked factor is air pressure pre-charge. Expansion tanks are factory-charged with air, usually around 40 psi, but this must be adjusted to match the home’s actual water pressure. If the pressures do not match, the tank will not function correctly and may fail prematurely. Checking and setting this pressure is a key step during installation.
Common expansion tank failures include ruptured internal bladders and waterlogged tanks. When the bladder fails, the tank fills completely with water and can no longer absorb pressure. Symptoms include pressure fluctuations, relief valve discharge, and a tank that feels heavy or sounds solid when tapped. Expansion tanks are not repairable and must be replaced once they fail.
Maintenance and Safety Best Practices
Expansion tanks require minimal maintenance but should be inspected periodically, especially during water heater servicing. A visual inspection can reveal corrosion, leaks, or improper mounting. Pressure checks can confirm whether the air charge is still correct. Many professionals check expansion tanks annually as part of routine maintenance.
Homeowners should never attempt to modify or remove an expansion tank without understanding their plumbing system. Removing a tank in a closed system can immediately expose the water heater and plumbing to excessive pressure. Any concerns about system pressure, relief valve discharge, or unusual noises should be evaluated by a qualified professional.
In summary, a water heater expansion tank is a small but essential component that protects your plumbing system from the hidden forces created by heated water. When properly sized, installed, and maintained, it helps extend the life of the water heater, improves system reliability, and ensures safe operation in modern closed plumbing systems.